
Converting DivX to WebM is a smart move for seamless cross-platform video sharing due to its superior compatibility and compression capabilities. The open-source WebM format, backed by Google, ensures trouble-free playback on all devices while maintaining high-quality video integrity. Using tools like HandBrake or VLC, the process is straightforward: import DivX, select WebM output, adjust settings if needed, convert, and save the smaller, more efficient WebM file for wider audience reach with minimal quality loss.
In today’s interconnected world, seamless cross-platform file sharing is essential. This article guides you through converting DivX to WebM, a popular format that transcends device and platform limitations. We’ll explore the benefits of this conversion, delve into the process step-by-step, and share best practices for effortless transfer. Understanding File Formats: DivX and WebM Explained will provide crucial insights, enabling you to make informed decisions. By following our tips, converting DivX to WebM becomes a simple, effective solution for sharing files across diverse platforms.
Understanding File Formats: DivX and WebM Explained
When sharing files, understanding different formats is key, especially when aiming for cross-platform compatibility. Two popular video formats, DivX and WebM, offer distinct advantages in terms of compression and playback capabilities. DivX, known for its high-quality encoding, allows for efficient file sizes without significant loss in video quality. This makes it ideal for sharing videos that need to maintain their original clarity.
On the other hand, WebM is an open-source format backed by Google and HTML5. It’s versatile and supports both video and audio content, making it suitable for web delivery. Converting DivX to WebM can be beneficial when you want to reach a broader audience across various platforms while preserving the original video integrity. This flexibility ensures that your media remains accessible and enjoyable for all users, regardless of their preferred devices or operating systems.
Benefits of Converting DivX to WebM for Cross-Platform Sharing
Converting DivX to WebM offers significant advantages for sharing files across multiple platforms seamlessly. One of the key benefits is improved compatibility; WebM is a modern, open-source container format supported by most web browsers and video players today. This ensures that your content can be played back without issues on any device or platform, from desktops to mobile phones.
Additionally, WebM provides better compression compared to DivX, resulting in smaller file sizes while maintaining excellent video quality. This advantage is crucial for cross-platform sharing as it reduces upload times and bandwidth usage, making it more efficient for users to share and stream videos online.
The Process: Step-by-Step Guide to Conversion
Converting DivX to WebM is a straightforward process that enables seamless file sharing across various platforms. Here’s a step-by-step guide to help you achieve this:
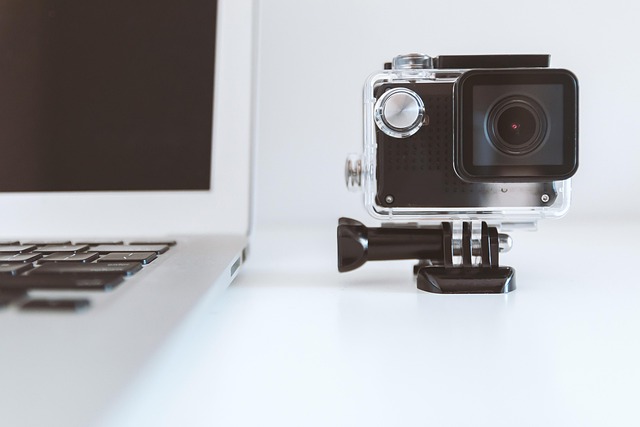
1. Choose a reliable conversion tool: Start by downloading and installing a compatible video converter that supports DivX and WebM formats. Popular options include HandBrake, VLC Media Player, and online converters like CloudConvert or Zamzar.
2. Import your DivX file: Launch the selected converter and add your DivX video to the interface. This is usually done by clicking “Add File” or a similar option and navigating to the location of your DivX video on your computer.
3. Select WebM as output format: Once your DivX file is imported, look for the “Format” or “Container” setting in the conversion options. Choose WebM from the list of available formats.
4. Adjust settings (optional): Depending on your needs, you might want to tweak some video parameters such as resolution, bitrate, and encoding method. However, for most cases, leaving the default settings will result in a good quality output.
5. Start conversion: After selecting the desired format and any necessary settings, initiate the conversion process. The time required depends on the file size and your system’s processing power.
6. Save converted WebM file: Once the conversion is complete, locate the saved WebM file in the specified output folder or download it directly, ensuring you have a secure backup before sharing across different platforms.
Best Practices and Tips for Seamless File Transfer Across Devices
When sharing files across different platforms, adhering to best practices ensures a smooth and efficient transfer process. One key tip is to ensure compatibility; not all file formats are universally supported. For instance, converting DivX videos to WebM format can facilitate broader playback across various devices and platforms. This simple step avoids potential issues related to incompatible players or software.
Additionally, compressing large files reduces transfer times significantly. Utilize efficient compression algorithms without compromising quality for a seamless experience. Always check file integrity after conversion and compression to guarantee that the transferred data remains accurate and complete.
Converting DivX to WebM is a smart move for seamless cross-platform file sharing. By adopting this format, users can ensure their videos are accessible and compatible across various devices and platforms, enhancing collaboration and accessibility. Following the step-by-step guide and best practices outlined in this article will make the conversion process efficient and effective, allowing you to share high-quality video content without any hassle.